As a business owner running a WooCommerce store, you might be looking for ways to connect Facebook with your WooCommerce store to boost online sales.
Facebook has been improving its features for businesses, such as dedicated brand pages, to help online stores advertise their products and build their brand.
In this tutorial, I’ll guide you step by step on how to connect Facebook with your WooCommerce store. I’ll also explain the benefits of integrating Facebook with WooCommerce.
Why Add Your WooCommerce Store to Facebook?
Once you connect your WooCommerce store to Facebook, a convenient ‘Shop‘ button will appear on your Facebook page. This allows your followers to easily browse and explore your products without leaving the platform.
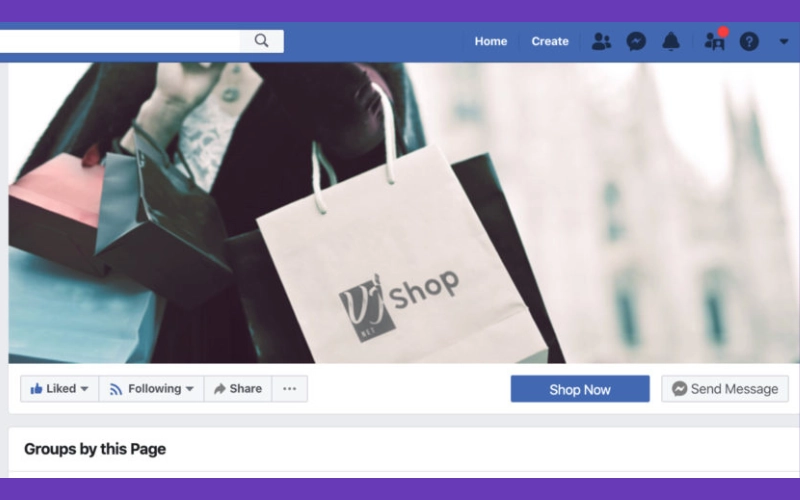
If someone finds a product they’re interested in, they can click on it to learn more details. You have the flexibility to either redirect them to your website for further information or enable them to complete their purchase directly on Facebook.
Selling your WooCommerce products on Facebook is an excellent way to introduce your followers to your online store and make stronger connections with your customers.
You can even choose to hide the WooCommerce content on your WordPress site, allowing you to utilize your blog for sharing content and using Facebook as your primary sales channel.
Now, let’s look at how you can add your WooCommerce store to Facebook.
How to Connect Facebook With WooCommerce
Before we start, make sure you have admin access to the admin area of your WooCommerce store. If you’re unsure how to log in, please reach out to your site developer for assistance.
Connecting a WooCommerce store to Facebook is easy, especially with plugins that handle most of the work for you. The plugin you choose can really affect how well the integration works and how your Facebook page runs afterward.
Available Plugins to Connect Facebook With WooCommerce :
I suggest you choose a plugin that is up-to-date, has a lot of active installations, good user reviews, and works well with the latest version of WordPress.
One option is Facebook for WooCommerce by Facebook, which is regularly updated in the WordPress repository.
Install and Configure ” Facebook for WooCommerce ” Plugin
In order to install and activate the plugin:
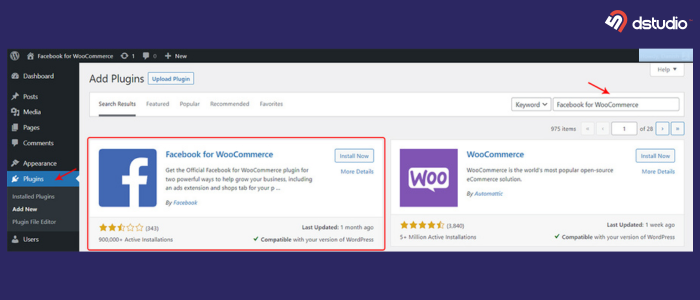
- Go to your Dashboard and click on Plugins, then Add New.
- In the search box, type “Facebook for WooCommerce.“
- Click the Install Now button and then click Activate.
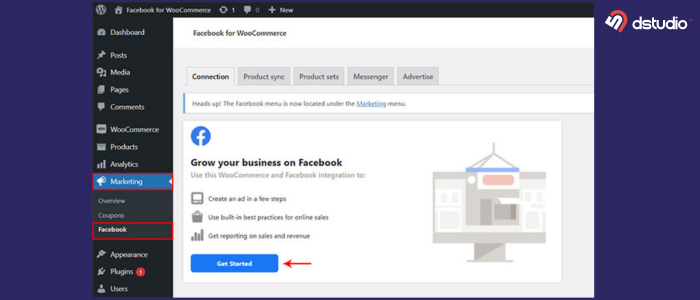
Once you activate the plugin, a new menu called Marketing will appear in your WordPress Dashboard.
- Go to Marketing, then Facebook, and click on the Get Started button.
You’ll be taken to a screen where you can connect your online store to a Facebook account.
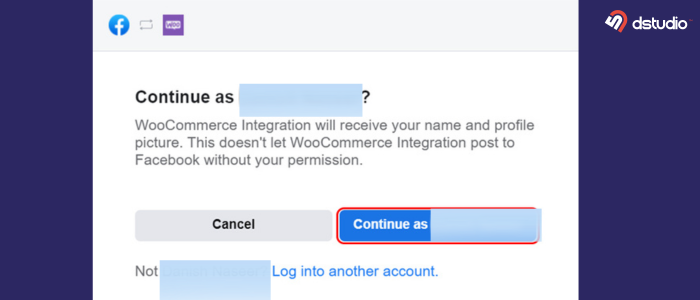
- Choose the Facebook account you’re logged into and click ‘Continue as [your account] ’. If you prefer, you can log into a different Facebook account instead.
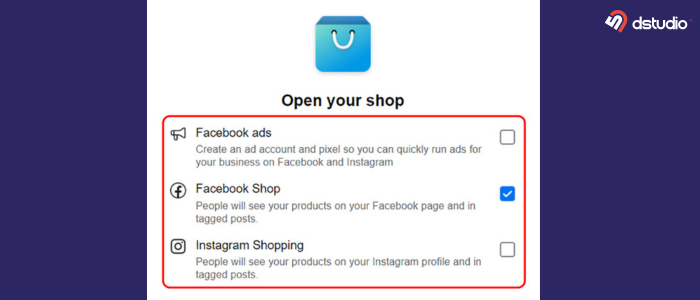
On the next screen, you’ll see three options: Facebook Shop, Facebook Ads, and Instagram Shopping.
For this guide, I suggest just checking the Facebook Shop option for now. If you want to add Facebook Ads or Instagram Shopping later, you can do that through your Facebook business account.
- Click the Get Started button again.
After that, you’ll see a window to either create or choose a business account.
- To create your Business Manager account, enter your Business name and click Continue. Make sure the name is short and appropriate.
Once you do that, your newly created Business Manager account will be automatically selected on the next screen. Click Continue.
Next, you need to connect to a Facebook page. If you don’t have one, you can create a new one by clicking on Create New.
- Choose the Facebook page where you want to show your products, and click Continue.
Now, select an existing product catalog and click Continue.
- To keep track of your inventory between Facebook and WooCommerce, you need to choose the Facebook Pixel. Click Continue.
Now, confirm your Commerce Account. This account will help show your products on Facebook, and then click Continue.
You just need to confirm your settings. Click Continue again.
You’ll be taken to a screen where you need to allow specific actions. You can leave these as the default and click Next.
On the next screen, you’re all set! You’ve successfully connected your WooCommerce store to Facebook. Now, click Done.
Note: You might see an error message at this point. Don’t worry! Many users experience this, but the integration you completed will be saved. You can continue the integration later from your Facebook business account dashboard.
How to Connect WooCommerce with Meta Business Suite
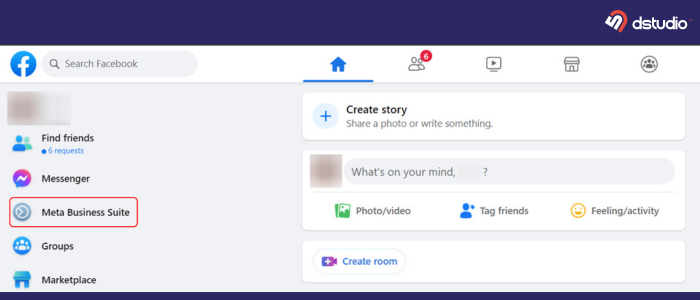
- Start by opening Meta Business Suite from your Facebook account.
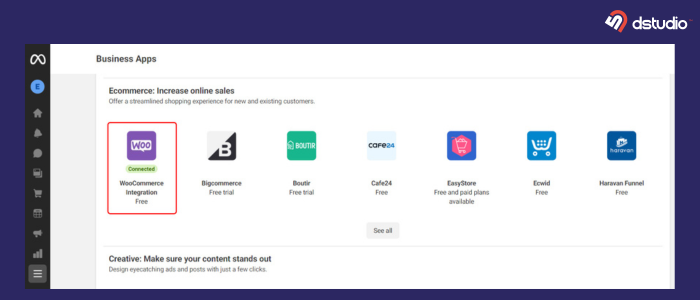
- Once you’re in, look for the “More Tools” option and select “Business Apps.”
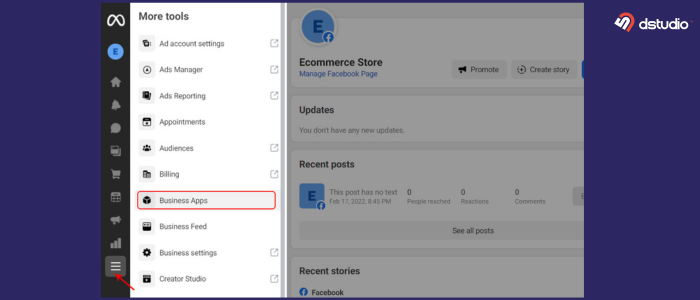
- Find the “Ecommerce” tab in the Business Apps section and click on the WooCommerce Integration link.
- On the next screen, you’ll see some details about WooCommerce along with a “Connect” button. Click that button.
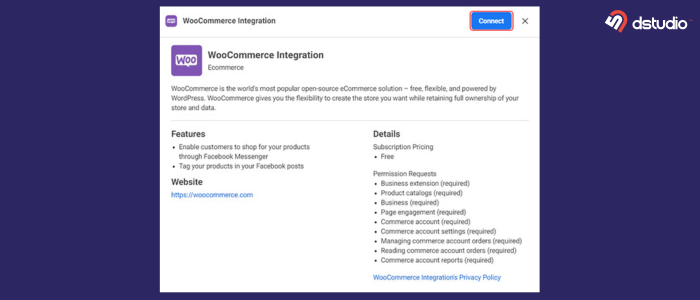
- To continue, you’ll need to grant permission for WooCommerce to connect with Facebook. Simply click the “Continue” button.
- You’ll then be taken to a new screen where you’ll need to enter your WooCommerce store’s URL. After entering it, click the “Connect” button.
- Next, confirm that you want to link your accounts by clicking “Approve.”
- After approving the integration, choose your Facebook Business account and click “Continue.”
- Then, select the Facebook page you wish to connect to and click “Continue” again.
- Now, connect your account to the Facebook Pixel for tracking purposes, and click “Continue.”
- For the final step, choose the Commerce Account that will allow your customers to check out using Facebook, Instagram, or your website.
- Lastly, review your selections and confirm your settings by clicking “Continue.”
- Finally, finalize the permissions required for WooCommerce Integration by clicking “Continue” one last time.
And that’s it! You’re all set.