Creating an online course can feel really challenging, especially if you don’t know where to start. Without a clear plan, you might end up spending time on content that doesn’t connect with your audience, and your course could get lost in a crowded market.
However, with this step-by-step guide, you can confidently build and launch a course that delivers value, reaches a broader audience and generates passive income.
Step 1: Validate Your Idea

Before creating any course, ensure there’s demand for it. You don’t want to spend hours building something no one will buy. Market research is essential here.
Look beyond just social media feedback. Use tools like Google Trends, Ubersuggest, and AnswerThePublic to check search volume, trends, and commonly asked questions related to your course idea.
- Research competitors: Take a look at courses already being offered on platforms like Udemy or Skillshare. Read their reviews to understand what learners are looking for and how you can differentiate your course by adding more value.
- Test your idea: Consider creating a free mini-course or a detailed blog post and track engagement. This will give you feedback before fully developing your paid course.
By ensuring your course fills a gap in the market, you’ll be on the right path to success.
Step 2: Create a Detailed Course Curriculum
Your course structure should be easy to follow and aligned with clear learning objectives.
Start by defining the outcomes your learners should achieve by the end of the course. Break down your course into modules and lessons that build progressively.
Example structure:
- Module 1: Introduction to Video Editing
- Lesson 1: Introduction to the Course
- Lesson 2: Basics of Editing Tools
- Lesson 3: Common Mistakes to Avoid
- Module 2: Advanced Editing Techniques
- Lesson 1: Color Grading
- Lesson 2: Audio Syncing
This way, learners can track their progress and feel confident about completing each milestone. Provide practical examples and case studies to reinforce the learning material.
Step 3: Choose Your Course Format

The format of your course will play a significant role in the engagement of your learners. You can choose from:
- Video-based courses: If your course is primarily video-based, make sure to invest in good audio and lighting. Even if you’re filming on a smartphone, using a lapel mic can significantly improve sound quality.
Tools like Camtasia or OBS Studio can help you record and edit professional-looking content without breaking the bank. - PDF or Written Guides: If you’re opting for downloadable material, consider using Canva for sleek and professional designs. A combination of video and written material can improve the learning experience for your audience.
Include quizzes, worksheets, or assignments to increase engagement and help learners apply the material practically.
Step 4: Name Your Course
Naming your course is necessary for grabbing attention. Keep it short, descriptive, and memorable.
A great course name should capture the essence of your offering. Add a subtitle for clarity.
- Example: “SEO Masterclass: From Beginner to Pro SEO Specialist in 30 Days”
- Pro tip: Use A/B testing on social media to gauge which course name resonates more with your audience.
Remember, the name is part of your course’s branding, so it should speak directly to your audience’s needs and goals.
Step 5: Pick a Course Platform
Choosing the right platform to host and sell your course is key to ensuring a smooth experience for both you and your students.
- All-in-one solutions: Platforms like Teachable and Thinkific allow you to create, host, and market your course in one place. They offer features like drip content, quizzes, and course certificates.
- Affordable alternatives: If you’re looking for a more budget-friendly option, Payhip or Gumroad might be suitable. While they don’t offer as many advanced features, they can still handle the essential e-commerce and hosting functions.
Include a comparison table of different platforms, highlighting key features like transaction fees, customization options, and scalability.
Step 6: Market and Launch Your Course
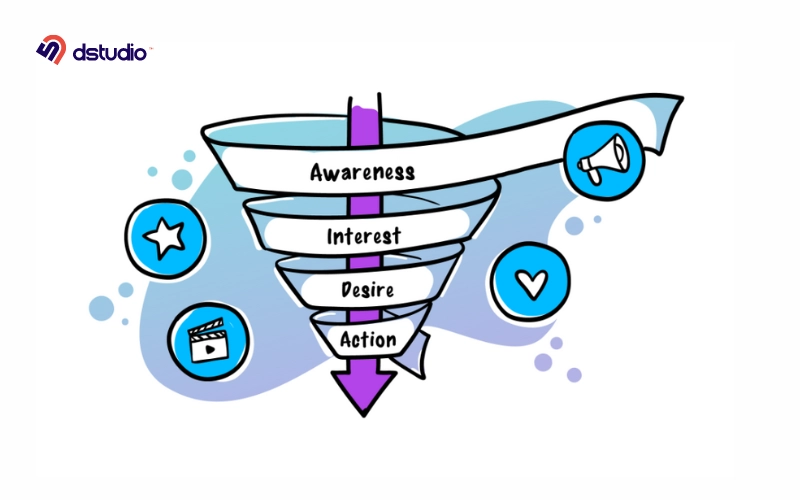
Once your course is ready, marketing it effectively is crucial to its success. Go beyond just a landing page—consider creating an entire marketing funnel that attracts, nurtures, and converts leads into paying students.
- Create a pre-launch strategy: Build anticipation by offering early bird pricing or limited-time discounts. Share sneak peeks or behind-the-scenes videos on social media.
- Utilize email marketing: Create a series of nurture emails for potential students who sign up for your waitlist. Tools like MailChimp or ConvertKit can help automate this process.
- Leverage partnerships: Collaborate with influencers or bloggers in your niche to get your course in front of a larger audience. Offer affiliate commissions to incentivize them.
Step 7: Collect Feedback and Improve
Once your course is live, don’t stop there. Collect feedback from your learners regularly.
Use post-course surveys or tools like Typeform to gather insights on how you can improve future versions of the course.
- Iterate and update: Make sure you regularly update your course with new content, trends, or techniques in your niche. Not only does this provide ongoing value, but it also keeps your course relevant in a rapidly changing digital landscape.
Common Pitfalls to Avoid:
Here are some mistakes to avoid when launching your course:
- Overcomplicating the material: Keep the content straightforward and to the point. Don’t overwhelm your learners with too much information at once.
- Ignoring audio/video quality: Poor quality can ruin an otherwise good course. Always ensure you have clear audio and good lighting.
- Neglecting marketing: A course will not sell itself. Invest time in creating a marketing plan before launch.
By following these steps and avoiding common pitfalls, you’ll be well on your way to creating a successful online course that delivers real value to your students.
Taking Your Course to the Next Level
Remember, the online course industry is constantly evolving, so it’s essential to stay adaptable and open to new methods of engaging your learners.
With a well-thought-out plan, validated content, and ongoing improvements, your course can be a valuable resource for your audience and a significant revenue stream for you.
Tip
To significantly increase your revenue, you should consider building your own eLearning platform. Owning a custom platform lets you to build a unique brand identity, implement tailored marketing strategies, and reach a broader audience more effectively.
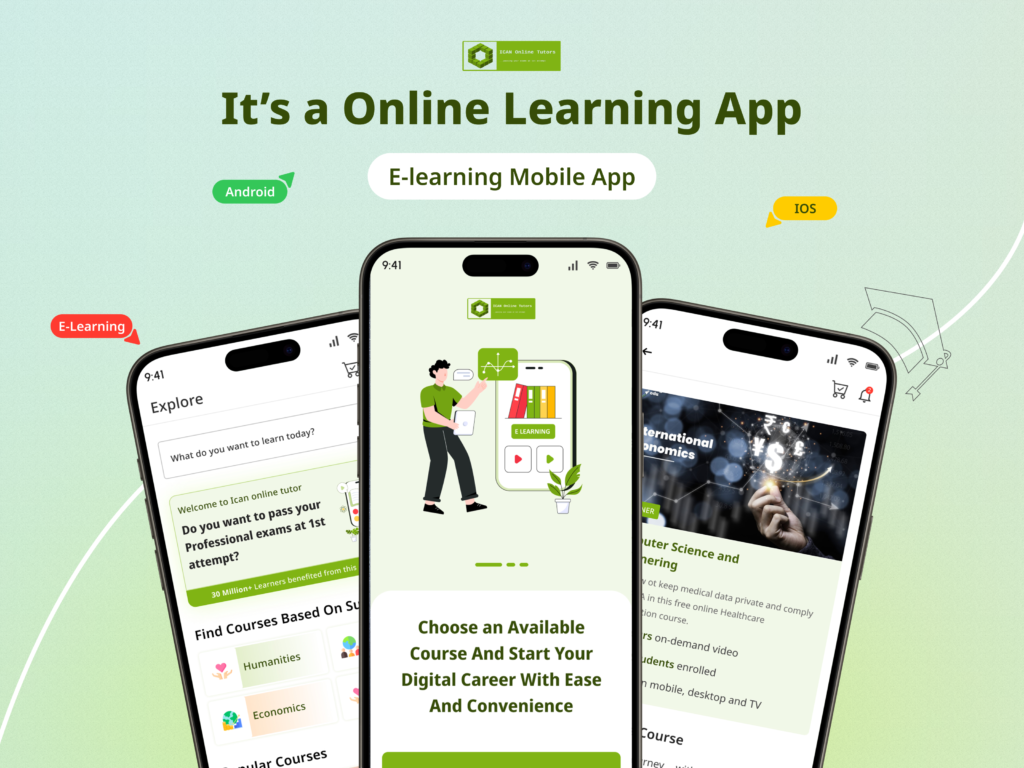
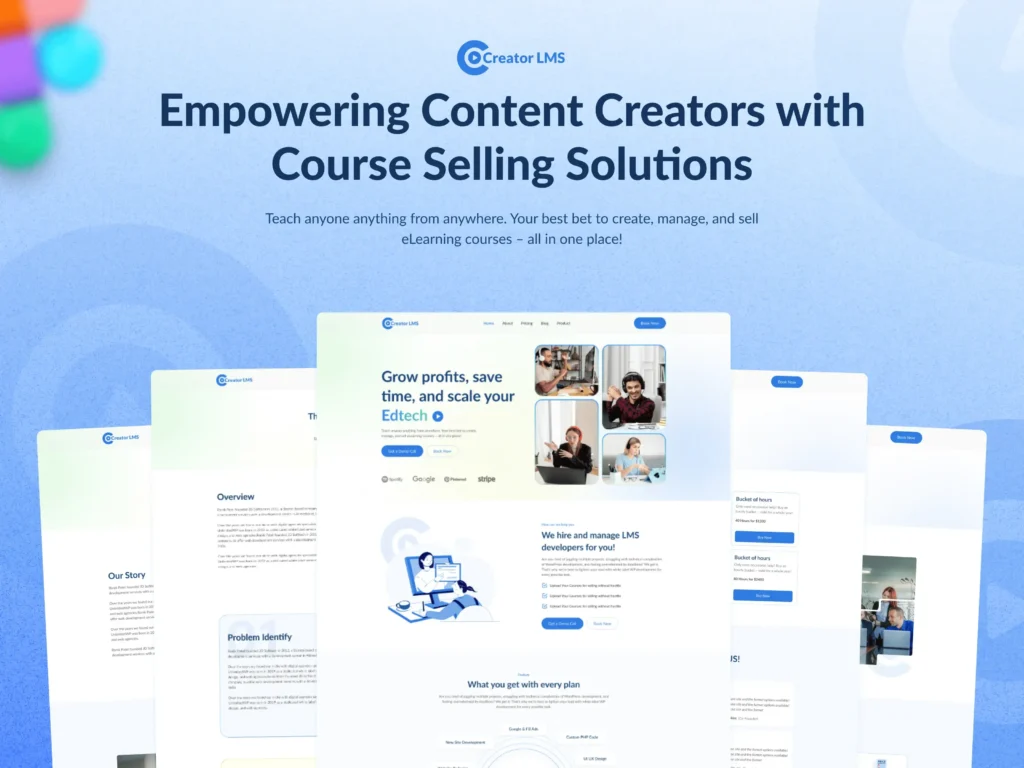
At Debuggers Studio, we focus on building custom eLearning platforms that meet your specific needs and goals.
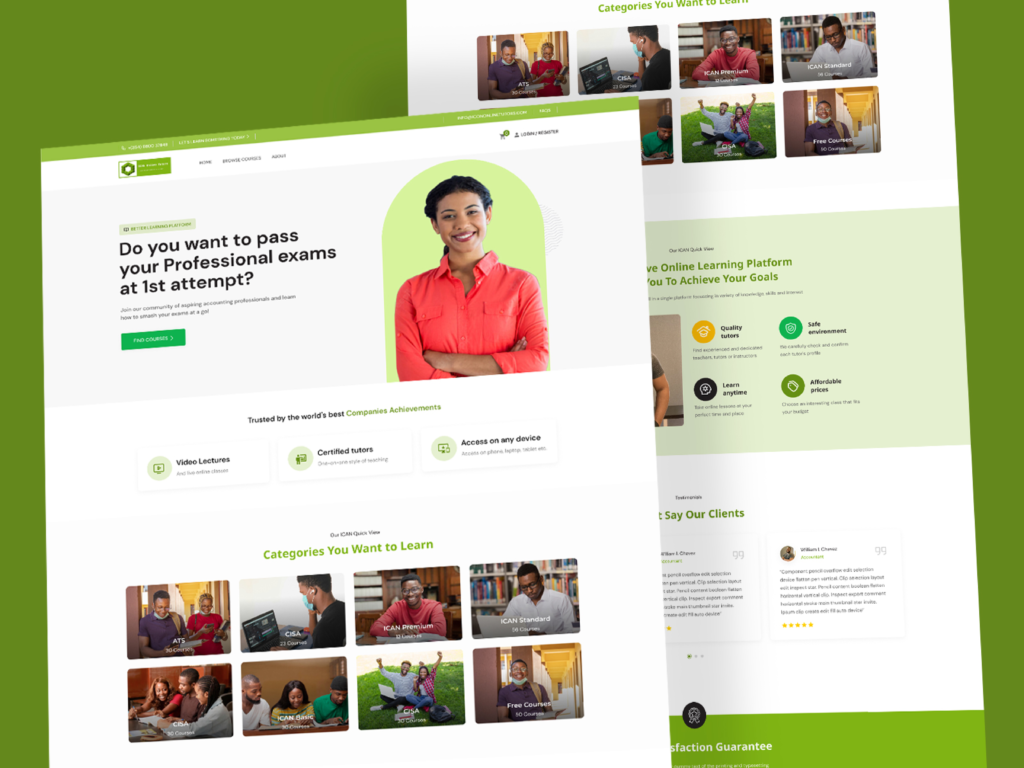
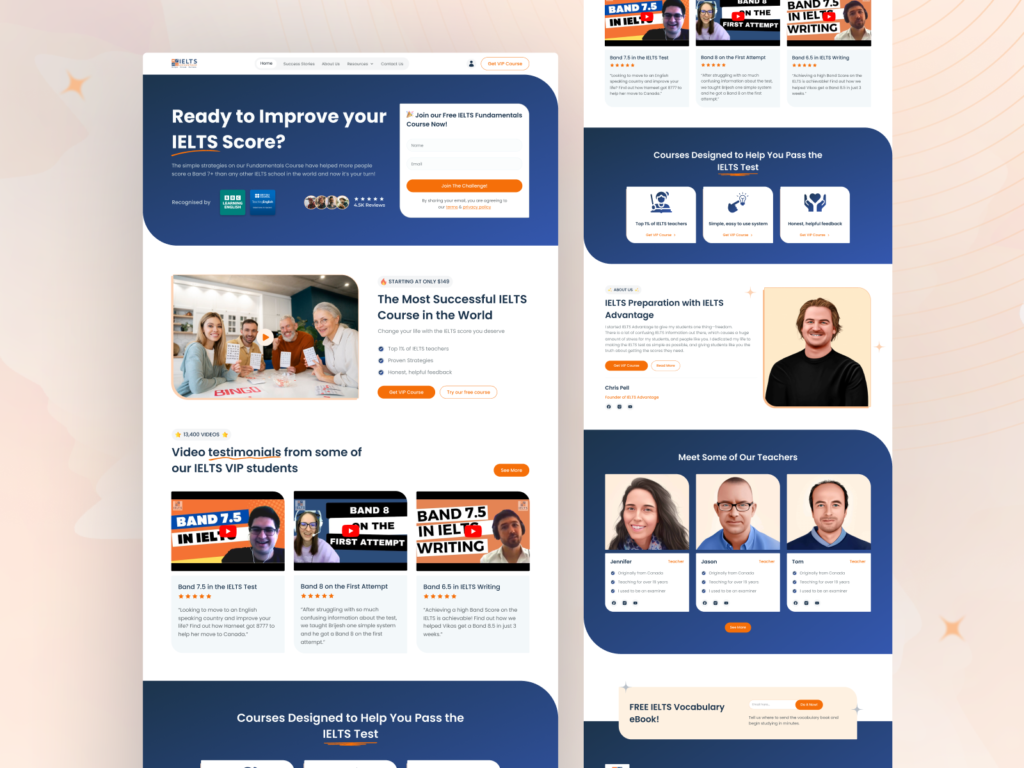
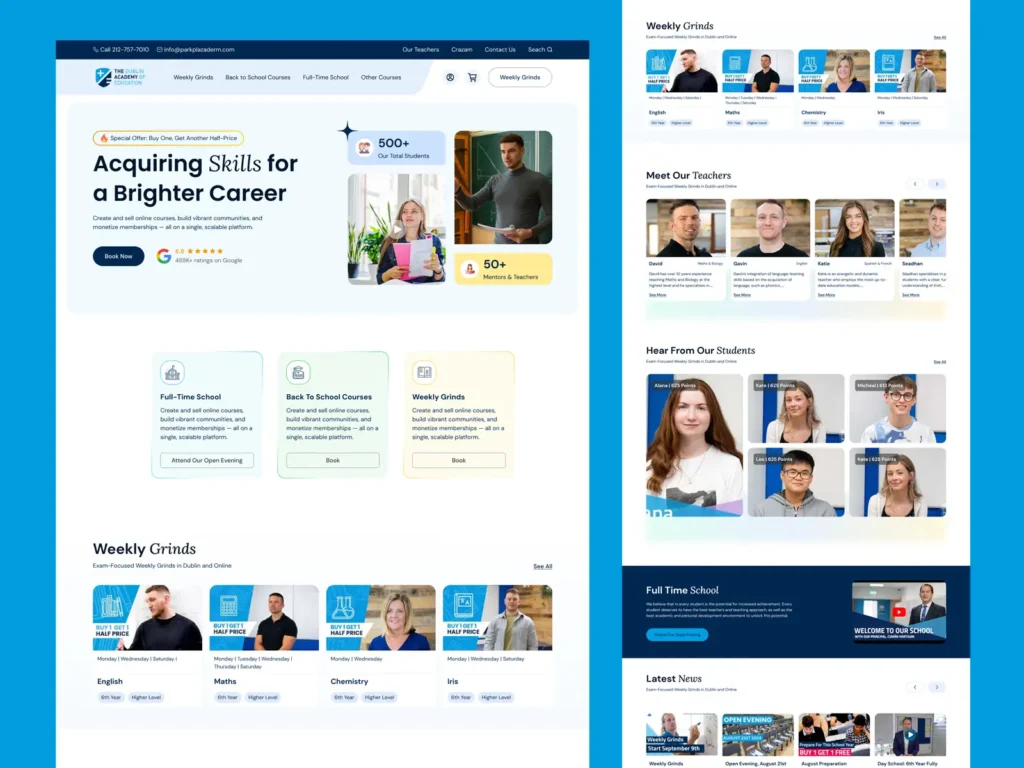
Recent eLearning Projects We’ve Partnered On
(Click on the images to view the full page.)

If you’re ready to elevate your online course offerings and maximize your revenue potential, reach out to us today for a consultation on eLearning platform development.